Installation
Removal of old material
Remove your acrylic function strip holder, if you have one, and make sure it’s well away from your work area.
Never use acetone / nail varnish remover / aggressive solvents. You will destroy your case.
Always test any solutions in a discrete area inside your case before applying to the outer surface.
If you’re not sure, use warm soapy water and elbow grease!
Bog standard hair conditioner does well at softening the glue residue, making it easier to scrape away. [Thanks DanielJ]
Heat Method:
Warning: excessive heat can warp your case. ABS plastic starts to melt at around 190°C / 374°F, but can deform at temperatures as low as 100°C / 212°F.
Using a hair dryer or hot air gun with a wide nozzle – both set to the coolest temperature – gently warm the old material using a constant circling motion. Avoid heating a single spot too much to prevent damaging your case. You may find that placing your case adjacent to a radiator can warm it enough to help remove the old panel. Avoid direct contact!
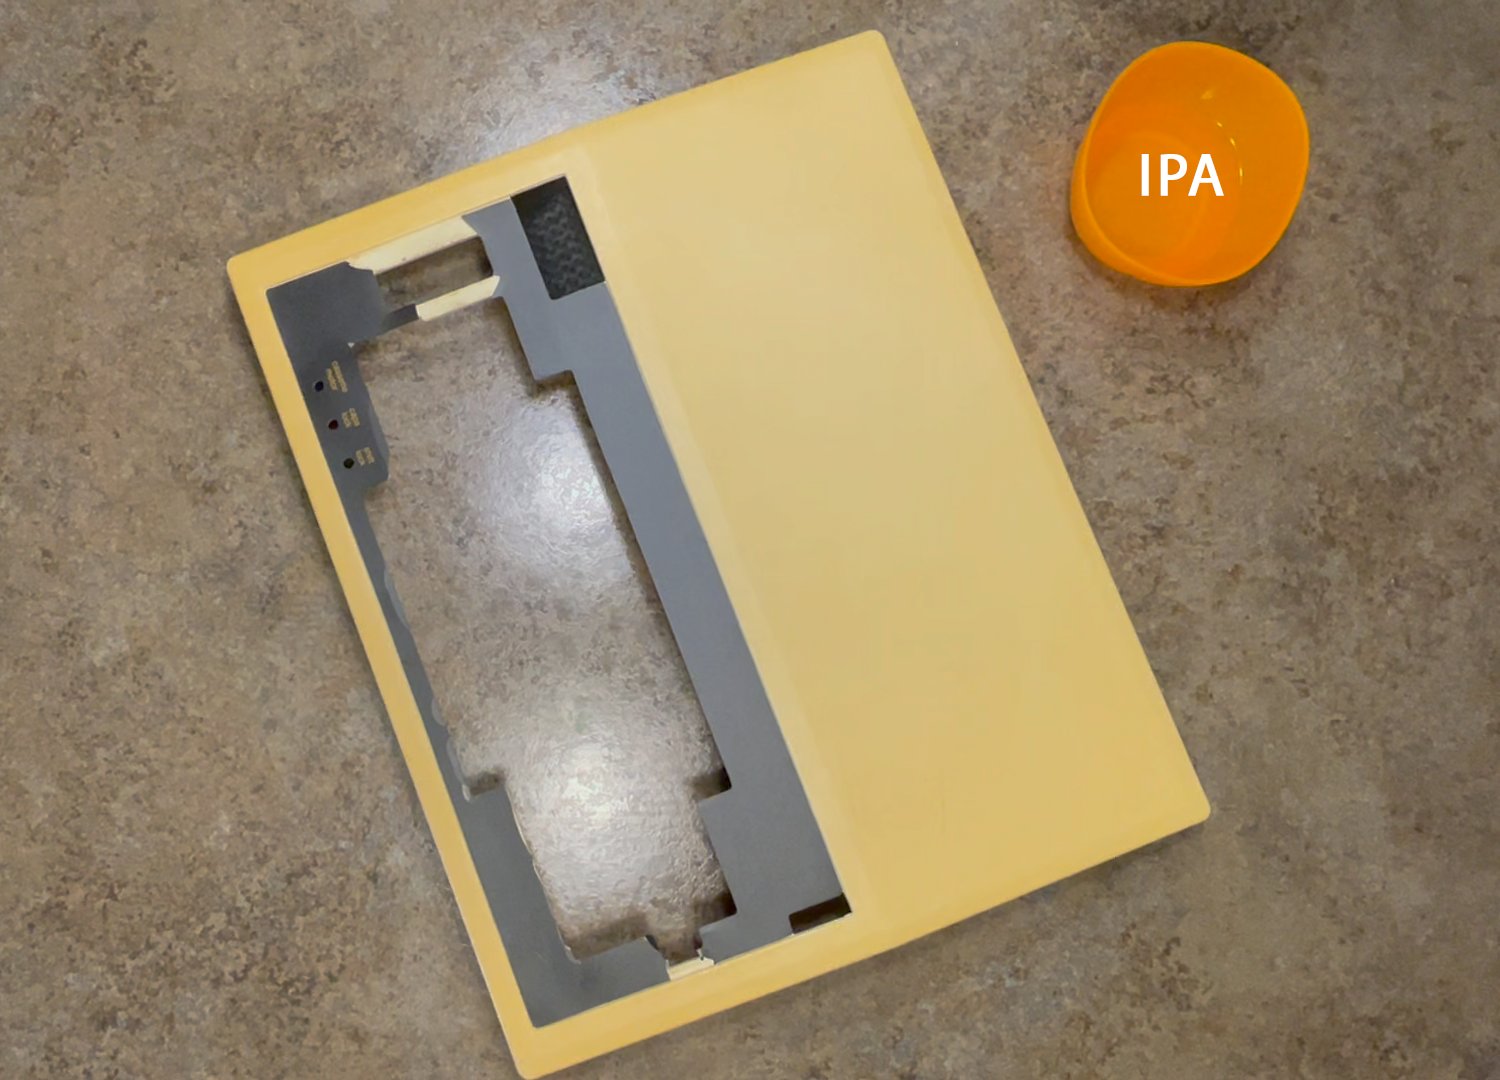
Isopropyl Alcohol (IPA) Method:
I recommend using IPA. This part is easiest if you remove the top half of your Model B case. Use IPA sparingly to help loosen the old adhesive.
Warning: be aware of what else could be coming into contact with your IPA – QA stickers, function strips, rom stickers, anything printed on paper etc will be easily damaged by IPA. Especially keep IPA away from your acrylic function strip. It will remove the printed logo elements.
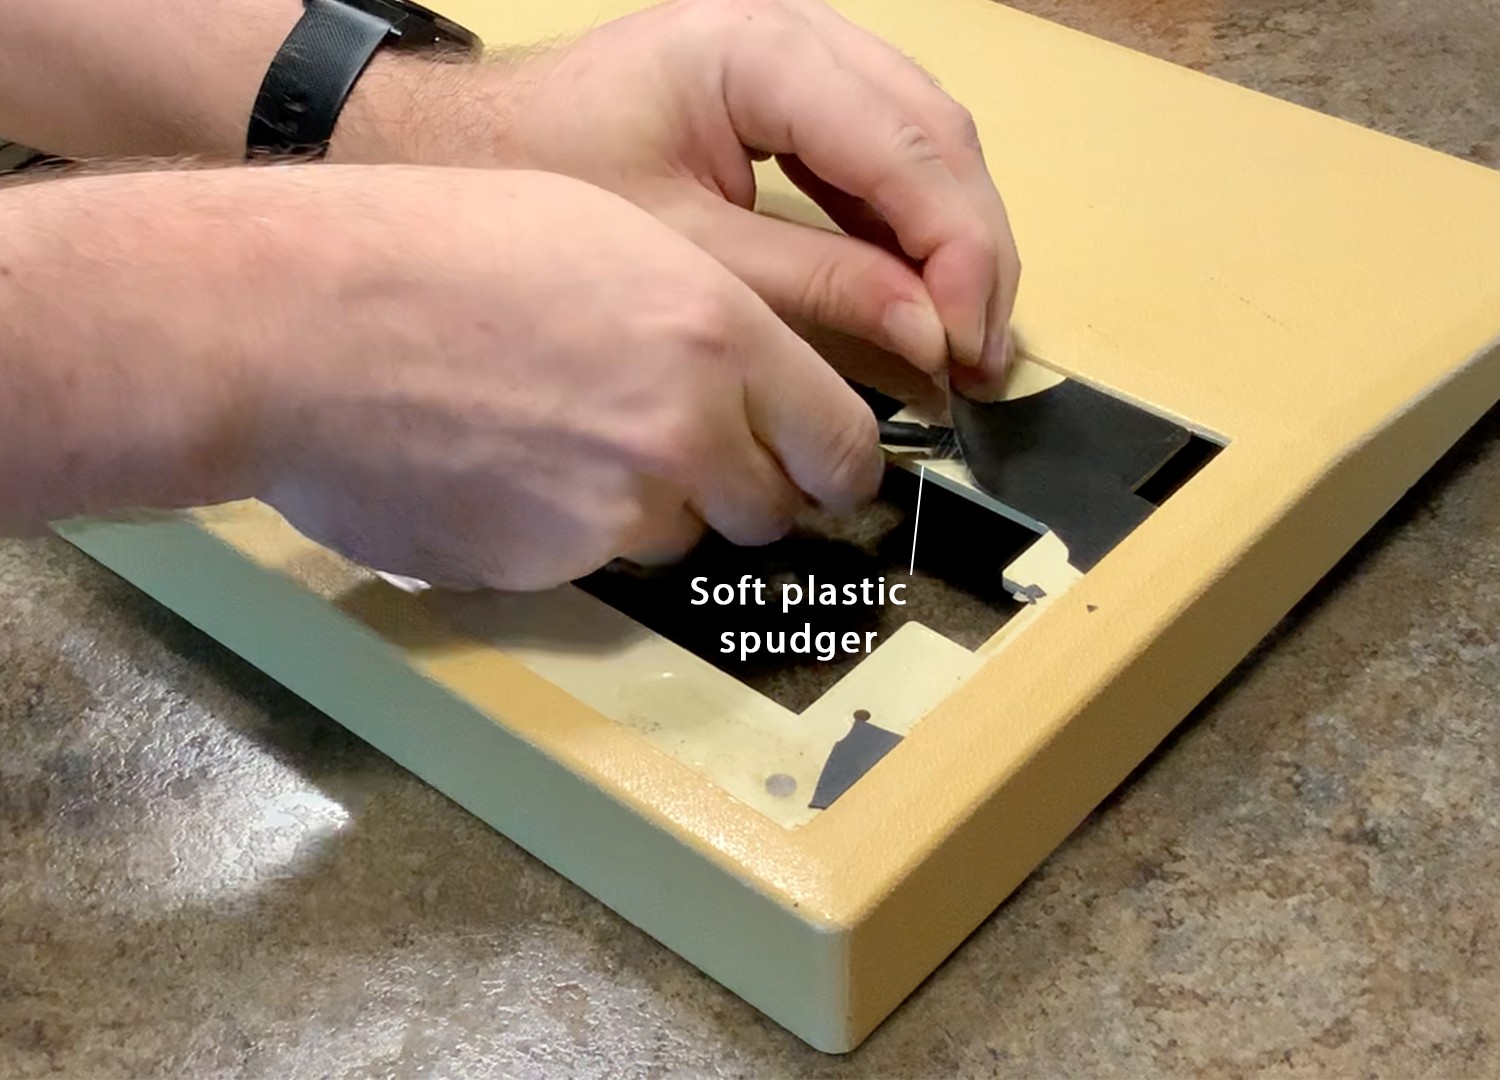
Using a plastic tool, such as a guitar pick or old bank card – less risk of scratching your case – gently lift from the edge and peel the old material away. I used a spudger from the ifixit.com Prying and Opening Tool Set (not an affiliate link). Apply more heat and/or IPA as needed, taking appropriate precautions. I used some kitchen roll to soak up some IPA and then wipe under the lifted parts of the old surround:
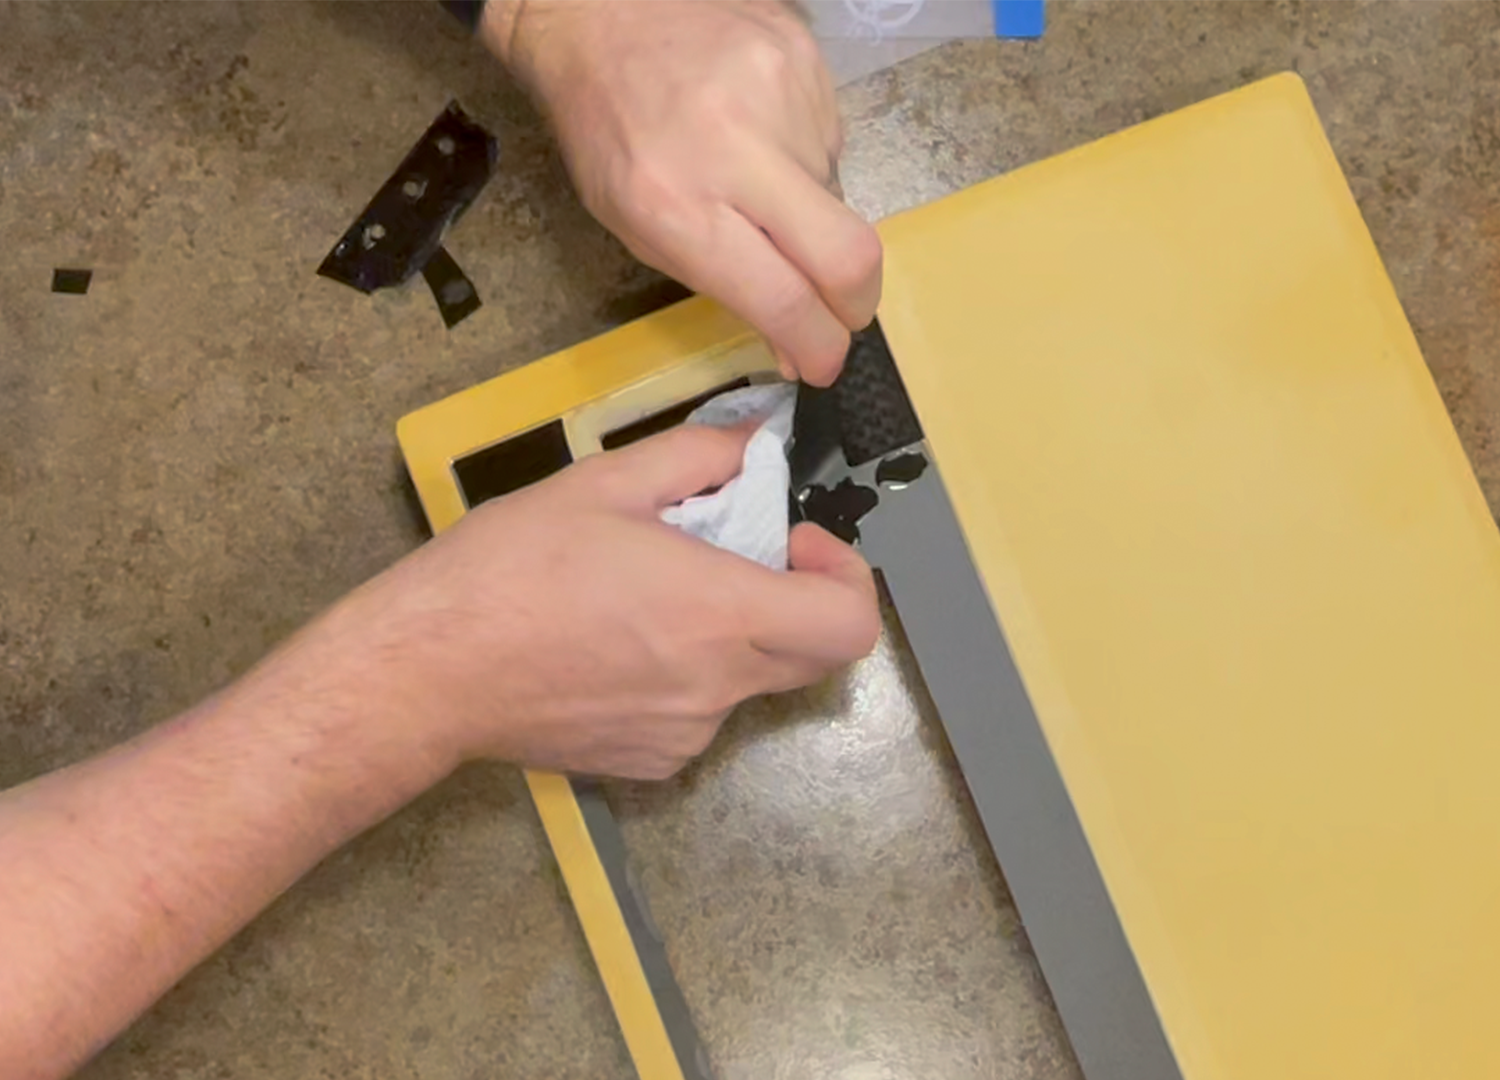
Repeat until all the bits of the old surround have been removed.
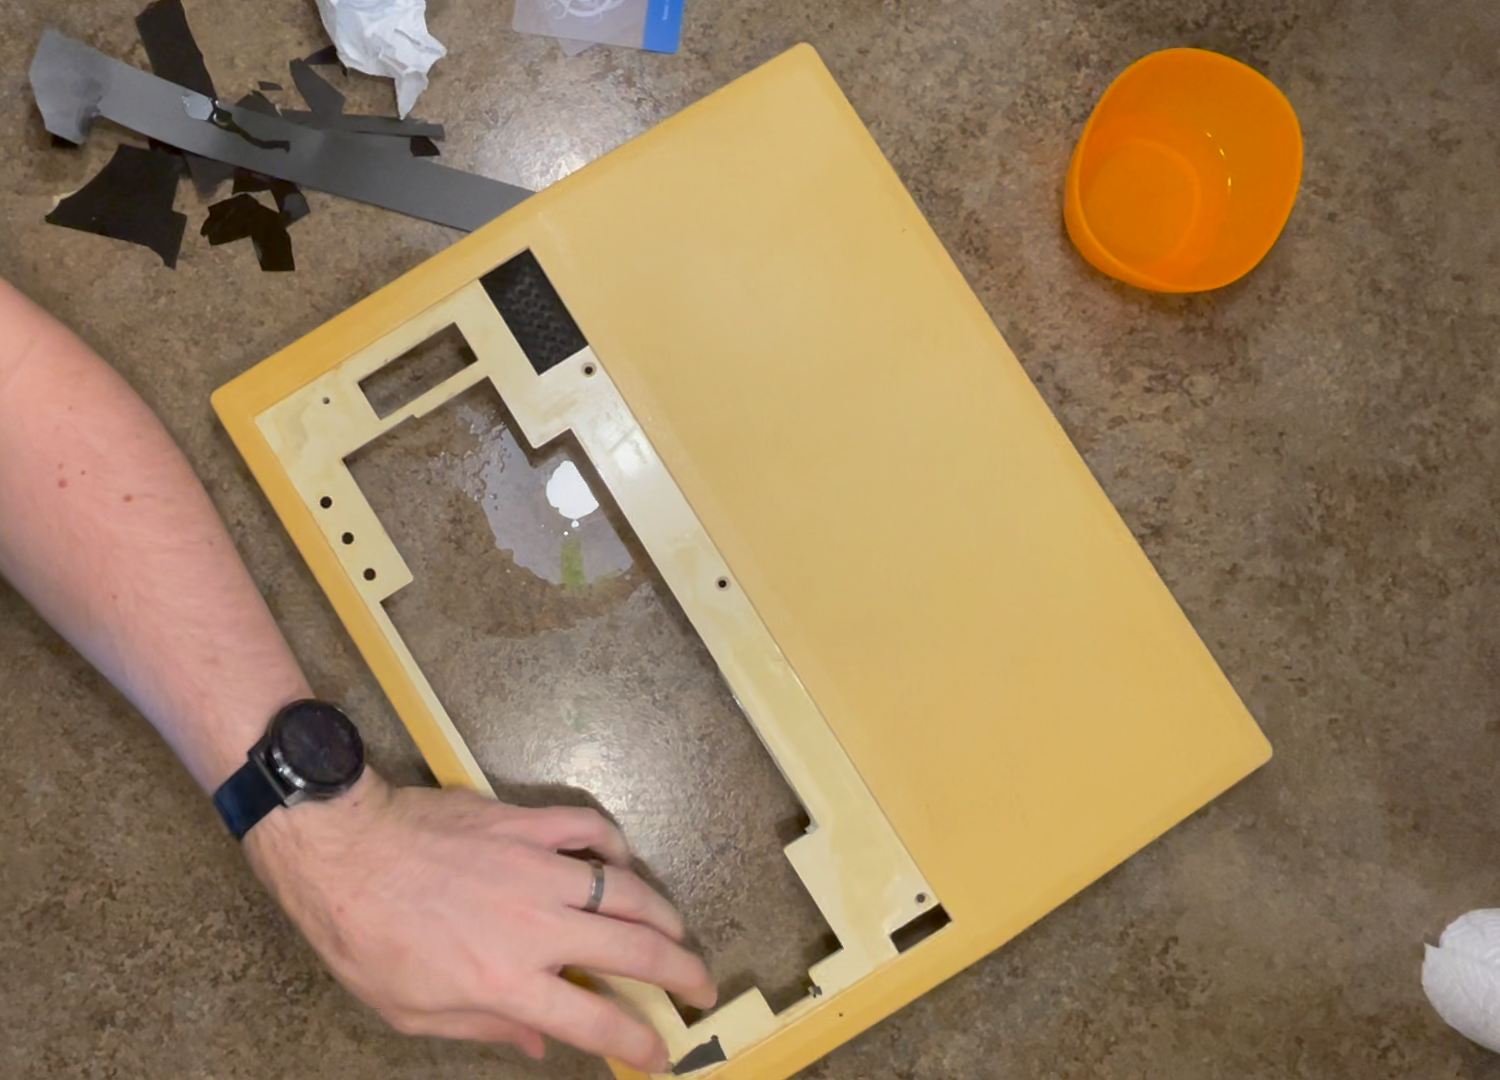
Cleaning the Adhesive Surface
Once the material has been removed, use IPA or other sticky residue removal solvent (test in a discrete corner before applying in bulk – make sure it doesn’t react with your case) to remove all traces of the previous adhesive. Work methodically, remember to get into the corners. Don’t be tempted to use a metal scraper or razor blade – anything harder than ABS will scratch your case.
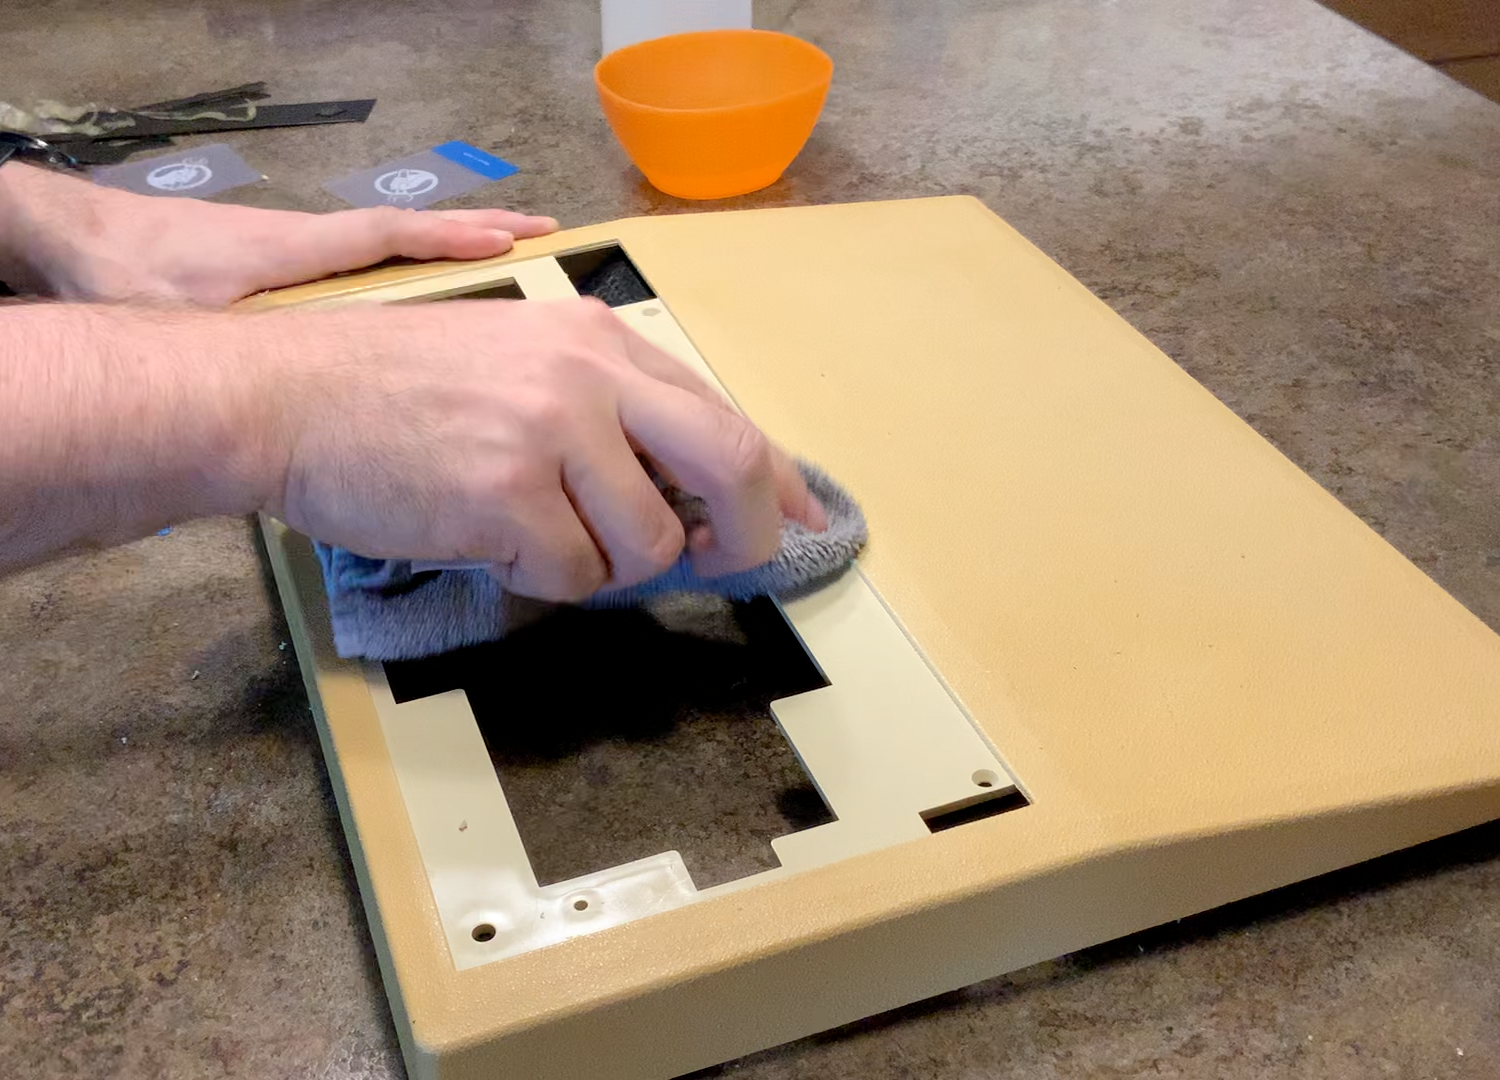
An old flannel dipped in IPA is good for rubbing the old adhesive residue away.
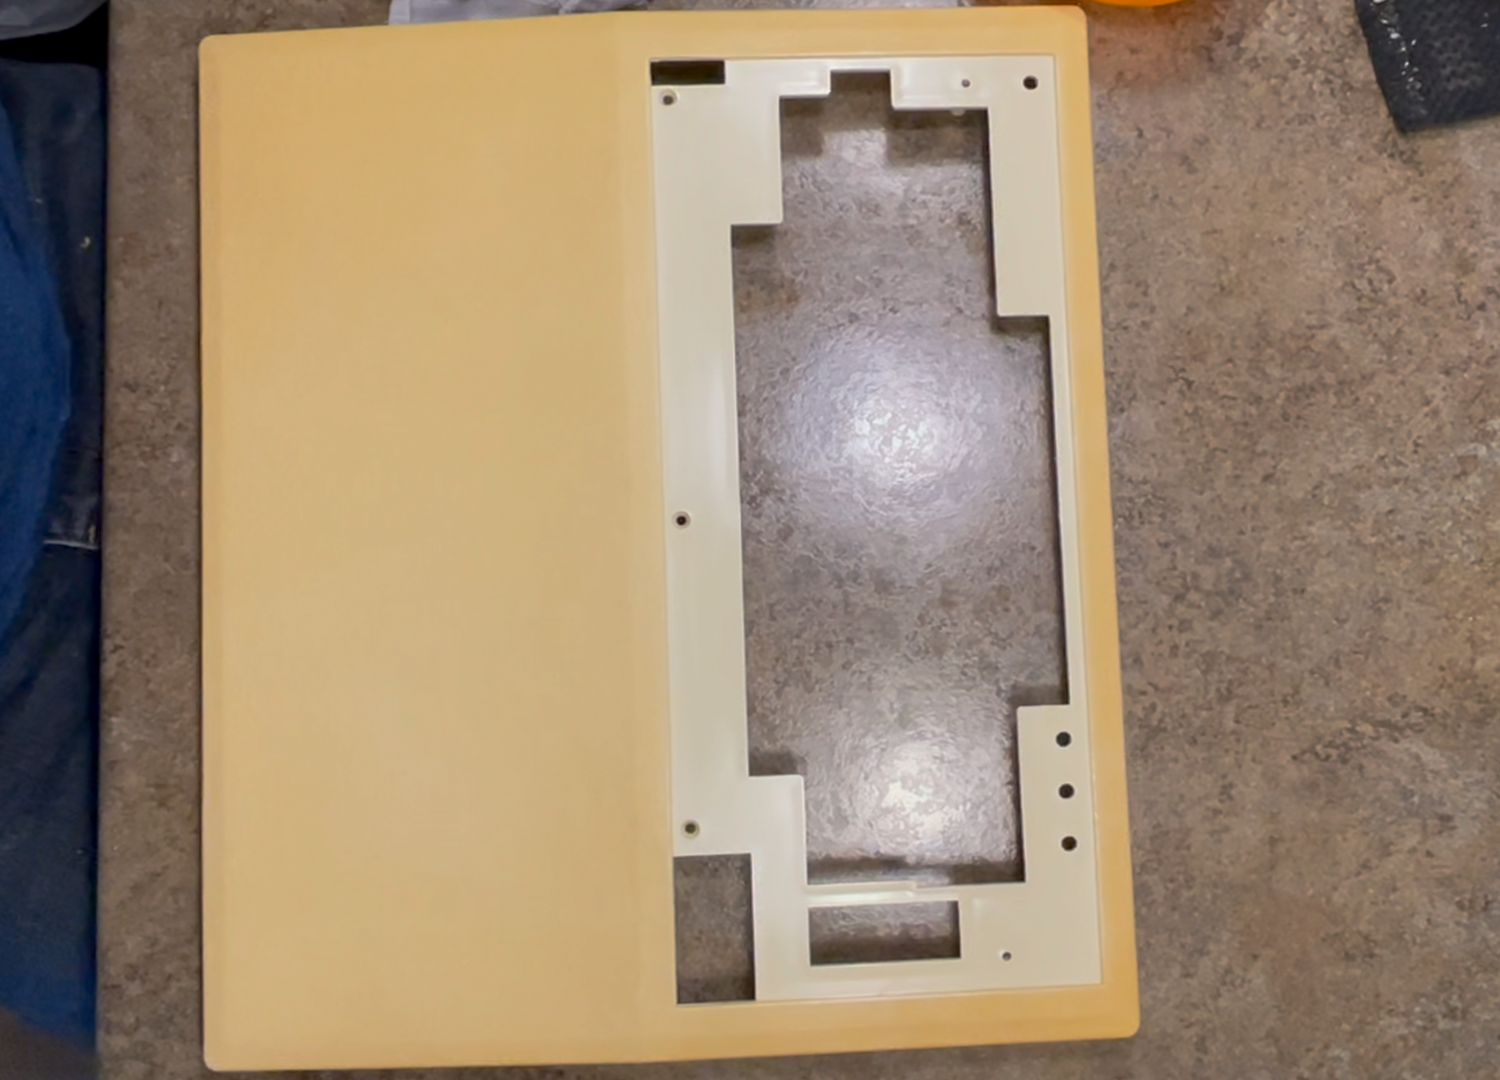
Be sure to use mild soap solution to remove any grease or solvent residue and rinse and dry thoroughly. Any imperfections on the adhesive surface can result in a bulge or poor adhesion of your new panel.
If you’re into retrobriting, now’s a good time to give your case a treatment. I would not recommend retrobriting with your replacement surrounds in place.
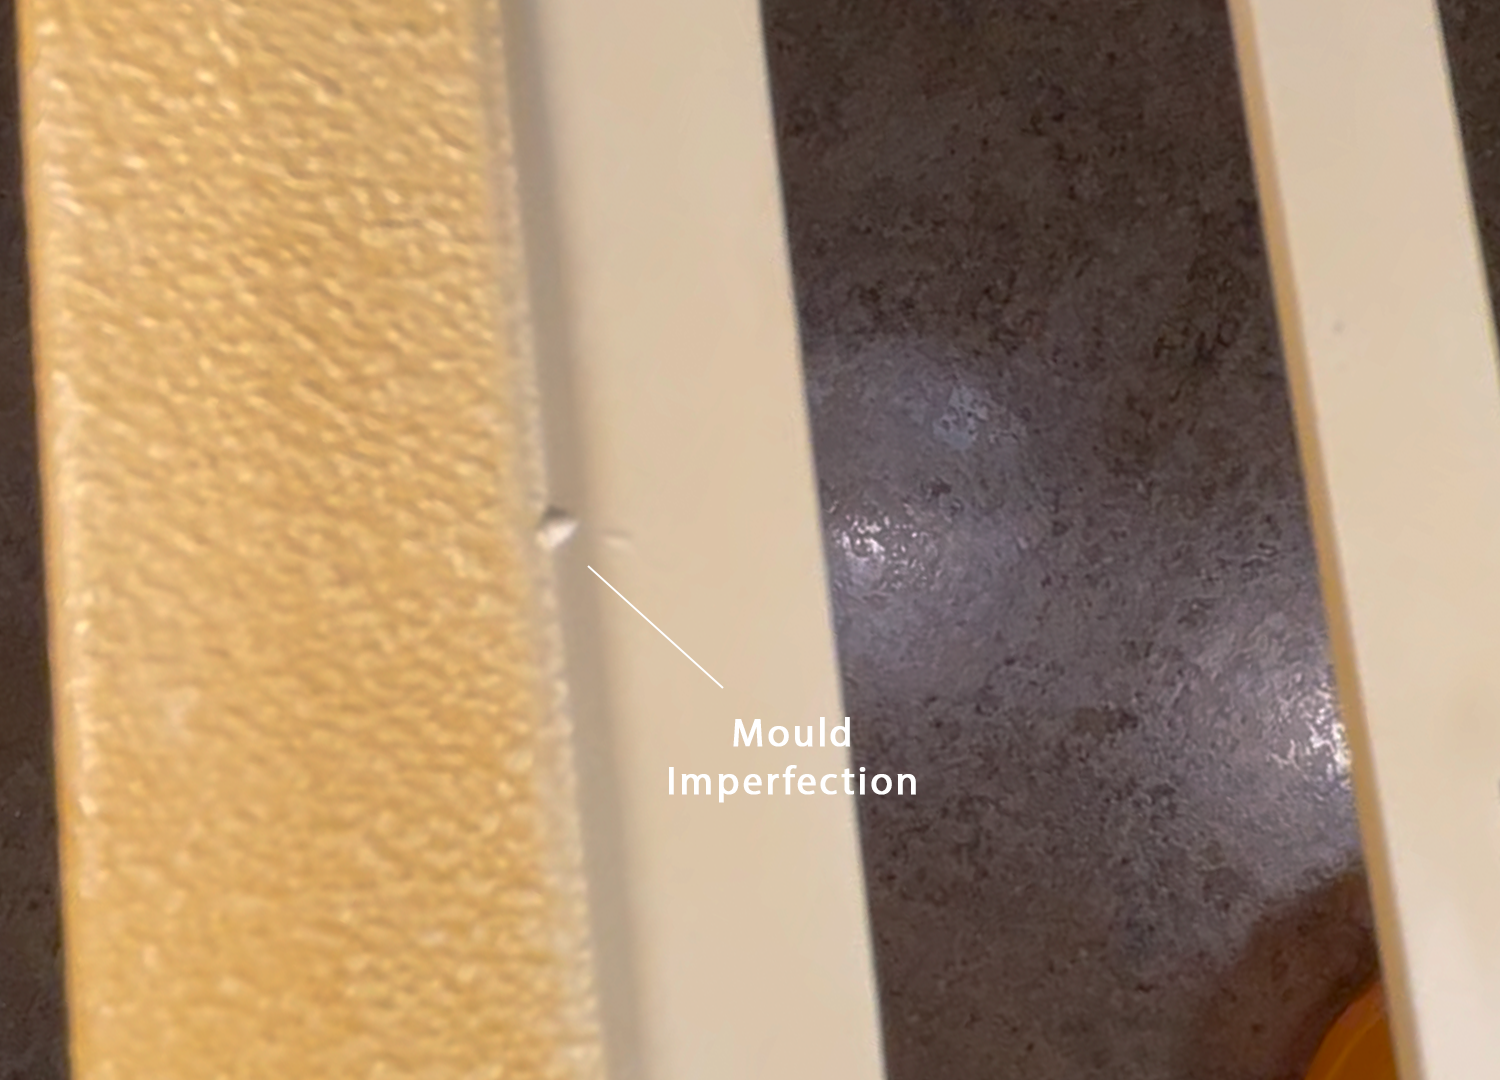
On the case pictured, there was a small mould imperfection near the ZIP socket that might cause adhesion problems with the replacement surround. This appears to have been fixed on later case revisions.
Ensure your work area is clear from any sticky residue before continuing.
Installation – Keyboard Panel
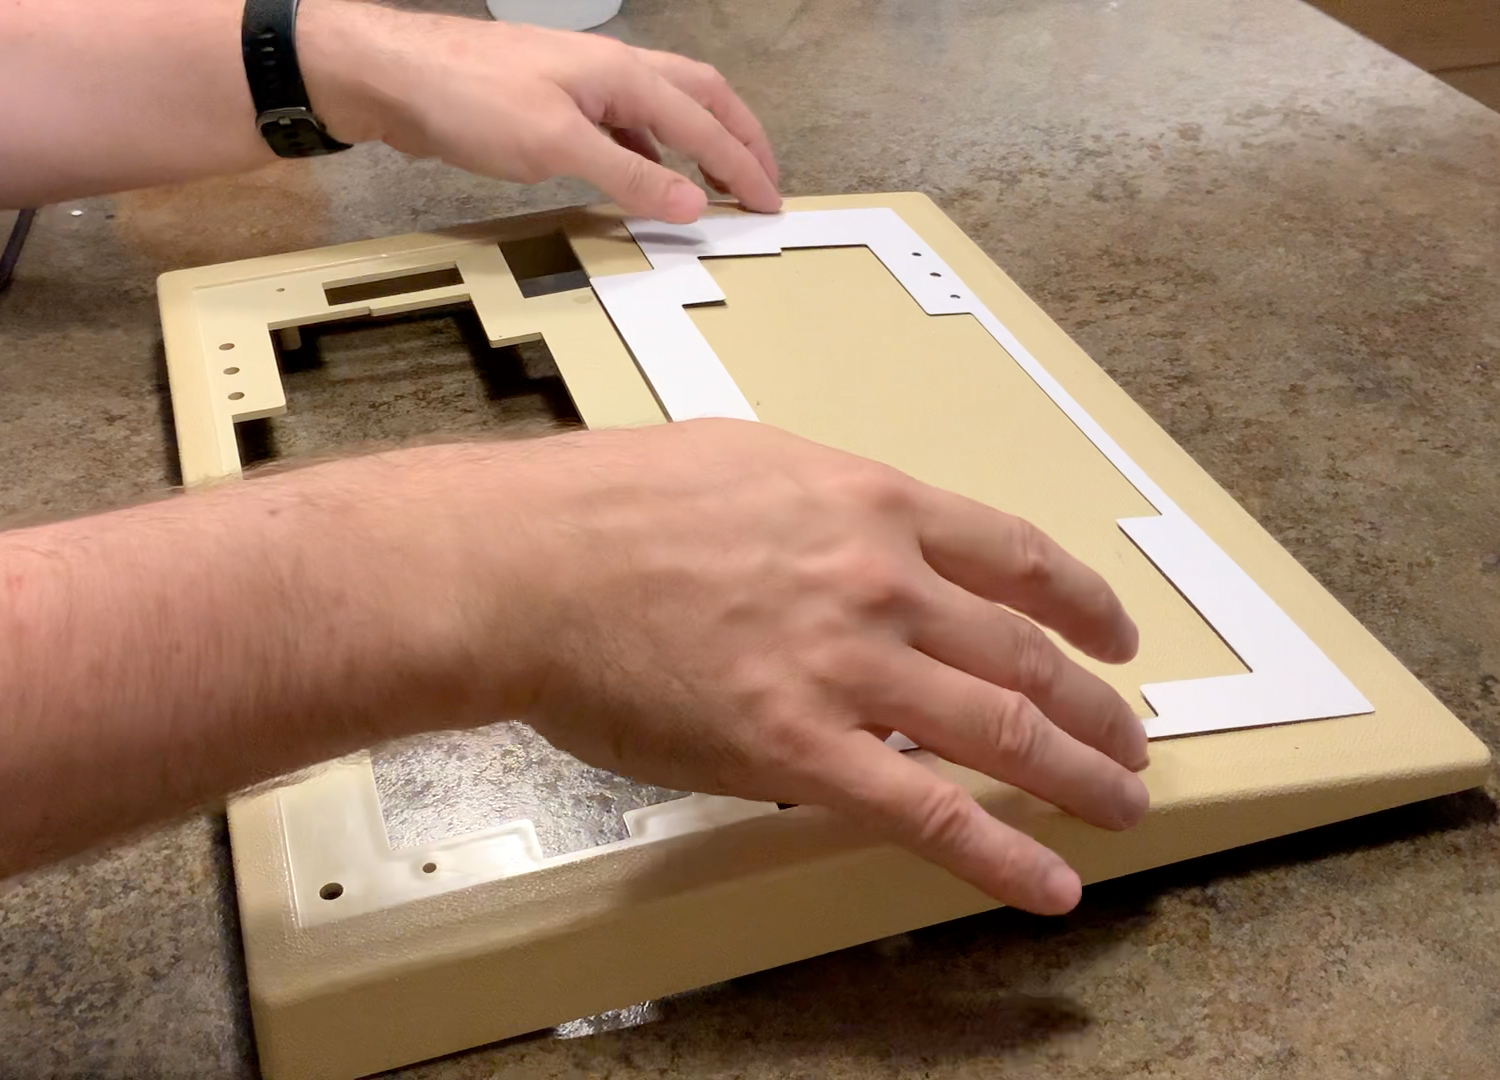
When you’re ready to apply your new keyboard surround, pop any remnants from the LED holes out and without removing the adhesive backing, place the surround into your clean case. On the earlier, rougher surface finish cases, the area for the keyboard surround is slightly larger than on later revisions. Centre your new surround up and holding it in place, apply some masking tape along the top edge of the surround and case. Pay attention to the LED holes, these should line up nicely with your surround.
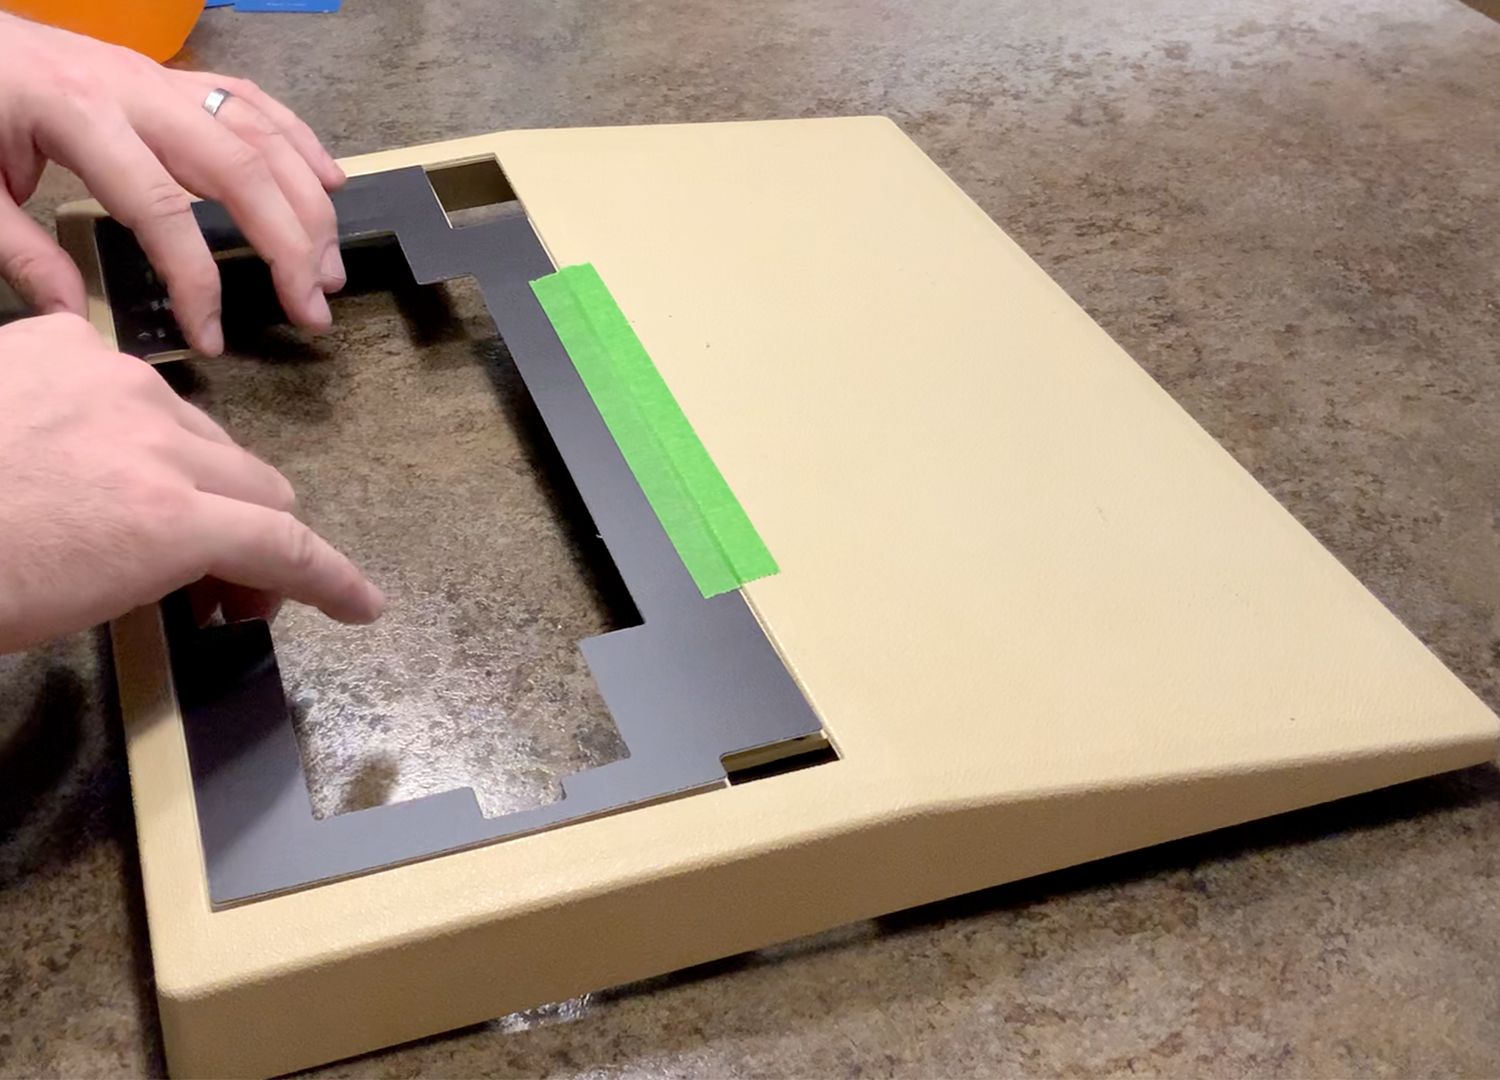
This can be used to hinge the surround away from the case to allow you to remove the adhesive backing.
Carefully remove the adhesive backing and taking care not to touch the adhesive, gently flip the surround back into place, lowering gently, making sure it stays in the correct position. At this point, it may still be repositionable if you make a mistake.
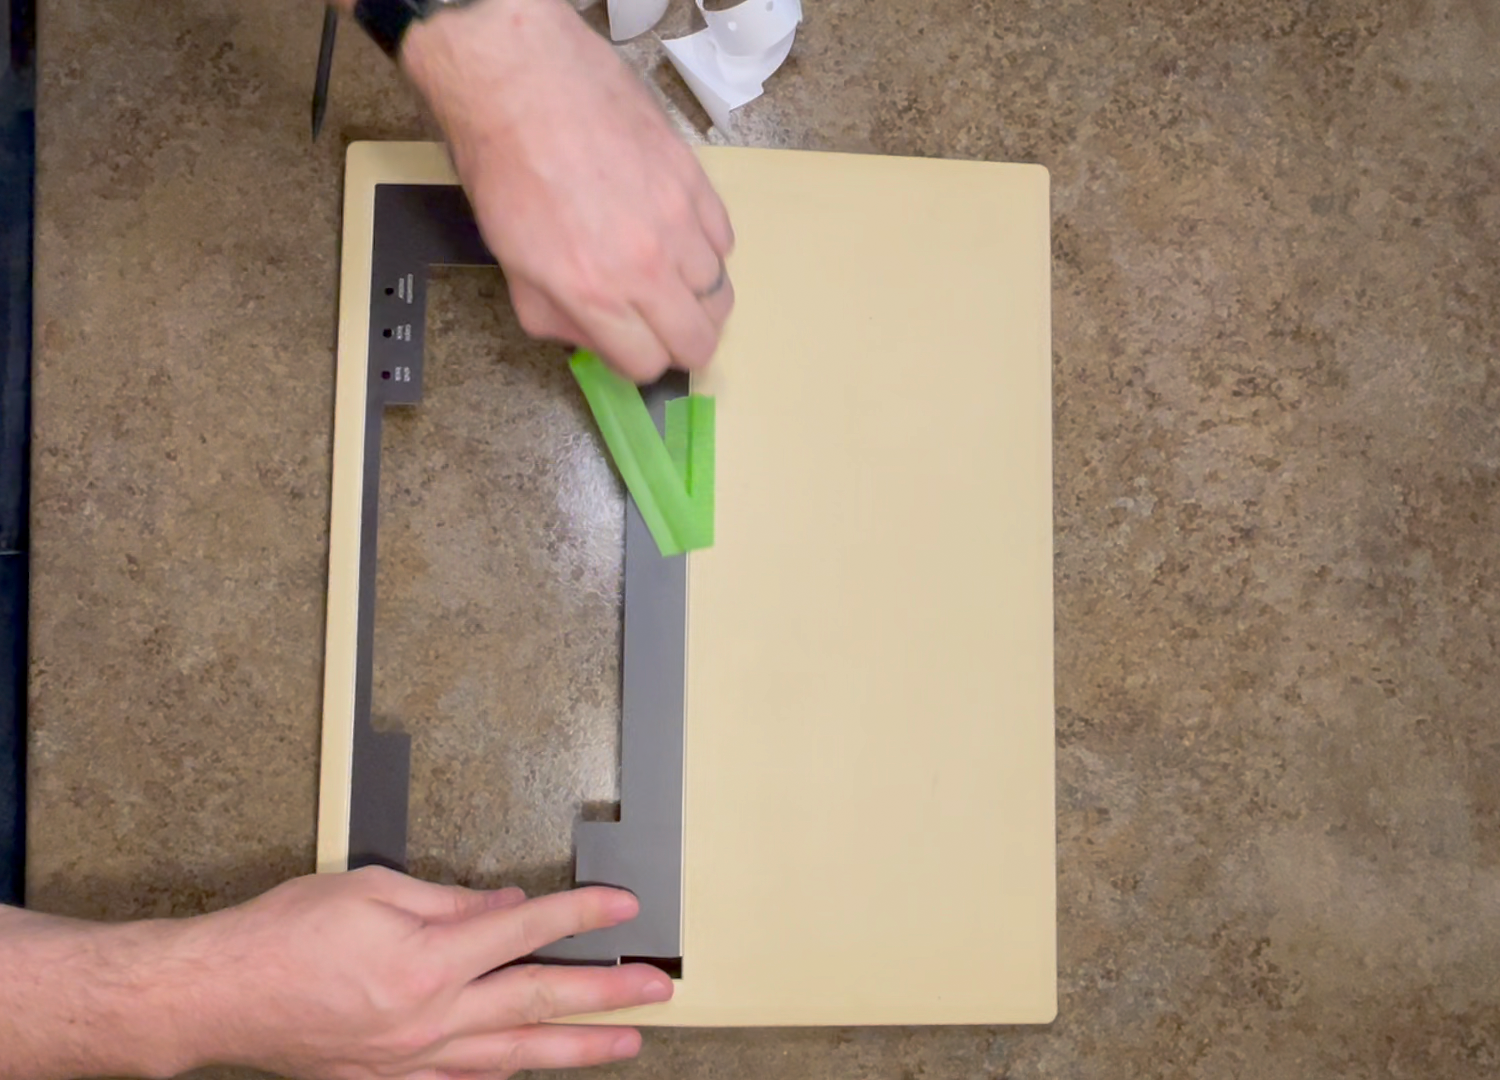
Press the surround into place firmly, remembering not to apply too much unsupported pressure to your delicate case. Squeeze out any air bubbles that might have formed towards the nearest edge.
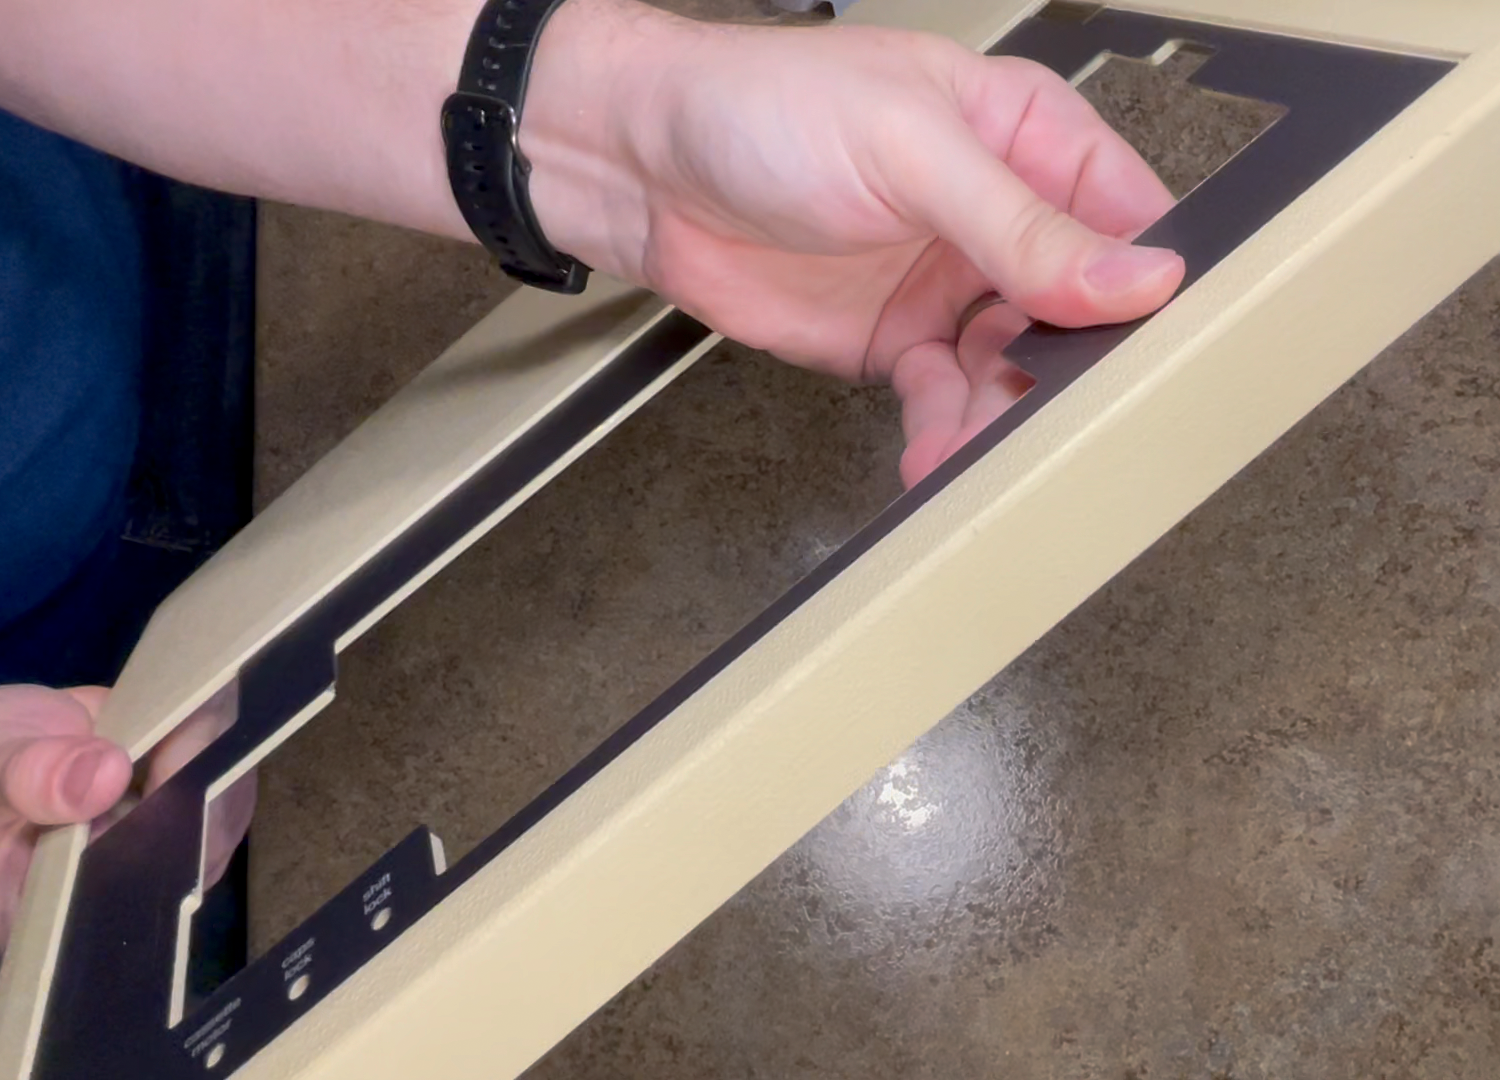
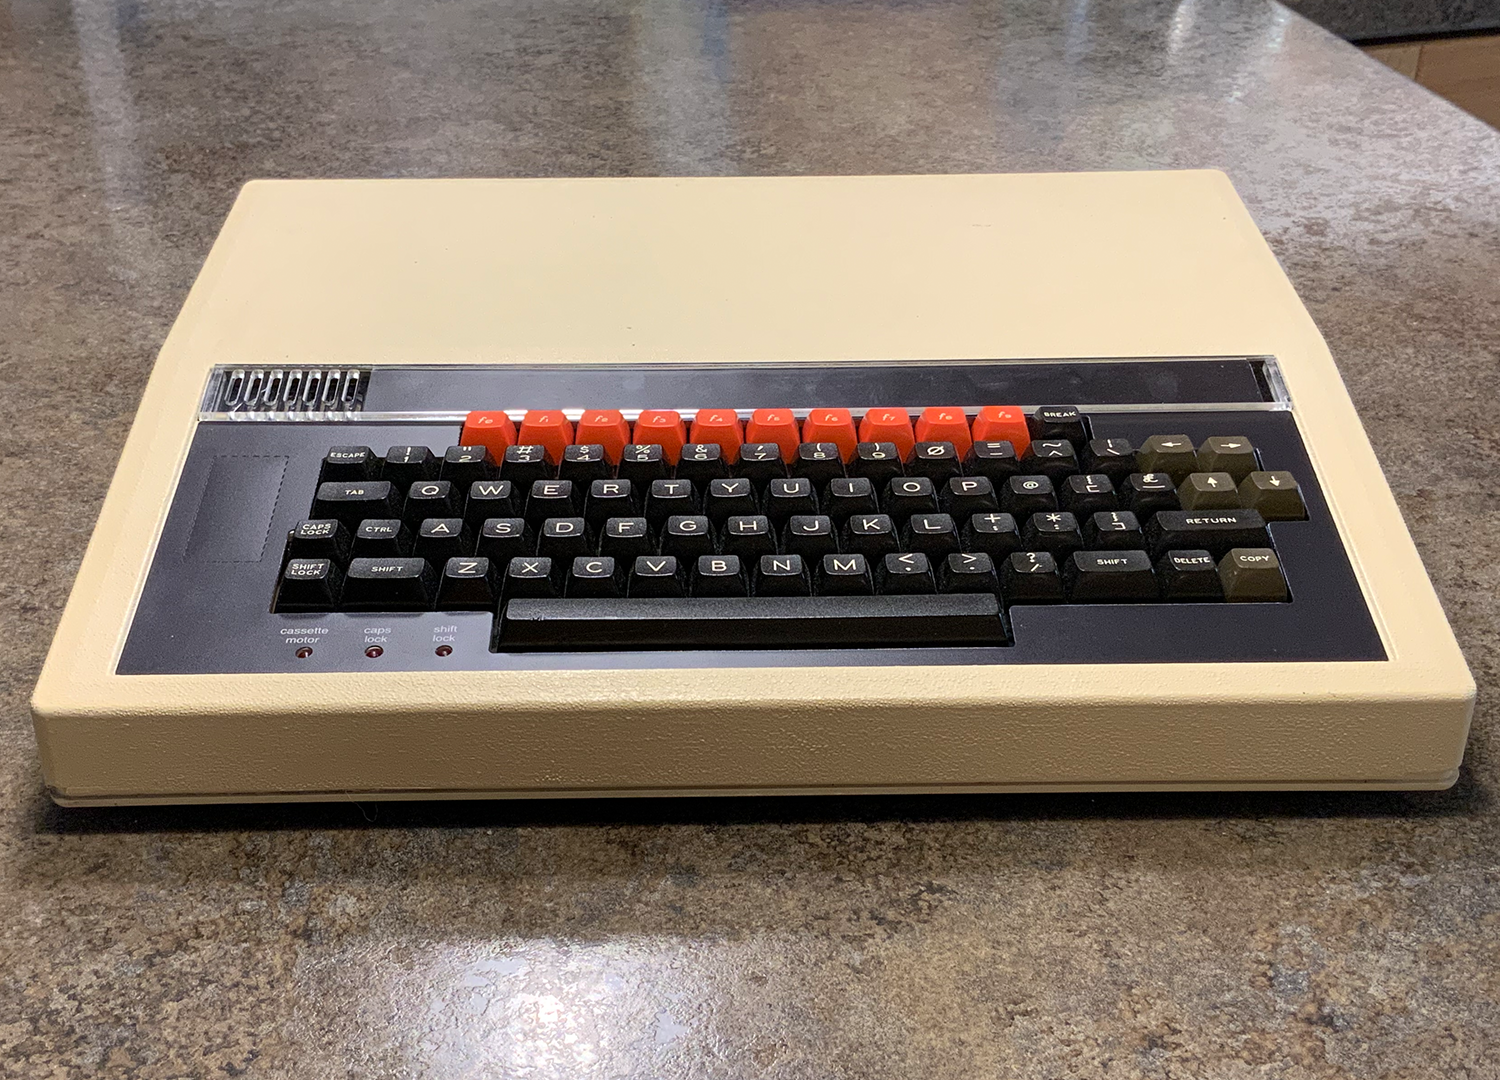
And done. The adhesive on your new surround will take some time to fully adhere. If you can, apply some weight to entire surface (a book or two, for example) to aid adhesion.
Installation – Rear Panel
The rear panel can be installed using a similar process to the keyboard surround. You will need to desolder and unscrew the video out BNC connector to remove the old panel and install the new one. The PCB can be left in place for this panel. Pay attention to the position of the plug holes and test your cables fit before removing the adhesive layer.
Installation – Underside Panel
You will find that removing the PCB and PSU makes installation of the underside panel much easier, but otherwise, installation is similar to the above two panels.
Thank you!
Please let me know if you think these instructions could be improved!